
Gardening Lessons: Starting Small and Growing Over Time
From pictures, it might look like I have it all figured out and that I was blessed with a green thumb, but in reality, I still remember my first tiny garden that barely produced anything. Each year, I focused on improving just one factor. Over time, I started seeing success and could move on to tackling the next plant type or issue. My hope is that my mistakes and successes over the years can help others on their gardening journey.
So Where Did I Start?
The first step in gardening is choosing a place to put your garden. We live in a part of Colorado where soil quality is often an issue, and the type of soil can vary drastically even within a short distance. Our first garden was in an area with shallow, silty soil—light-colored and completely devoid of organic matter. To improve it, we brought in pickup loads of decayed manure. It helped, and it gave us a place to start.
That first year, I planted carrots, peas, lettuce, green beans, a few peppers, and squash. I also added some marigolds and sunflowers for color and companion planting. We had great success with the carrots and peas. The green beans sprouted and were looking great, and I transplanted peppers I had purchased. Everything seemed to be going well.
But one morning, I went outside to admire my growing garden and found that something had devoured every single green bean and all the leaves from my pepper plants. I was heartbroken! I called my mom and dad to ask what might have happened, and they explained that sweet little rabbits love peppers—along with many other garden plants. So, we had to start over.
Starting Over With a New Garden
A few years later, we moved and had to start a new garden from scratch. This time, we knew a fence would be necessary—not only to keep dogs out but also to keep rabbits away. We chose a spot that already had a cinder block wall on one side, which helped reduce the cost of fencing materials.
Cam had previously built a fence for someone using 5’ high chain link, and they gave him a roll of leftover chain link. Using that, we bought some 6-foot-tall steel “T” posts and set about building the garden fence.
The soil at our new location was extremely hard and compact. Almost nothing was growing, so we knew we’d have to make significant soil improvements. First, we borrowed a tiller from my aunt and tilled the area in one direction and then the other. To our surprise, we barely scratched the surface of the compacted soil.

Next, Cam cleaned out a small nearby pond with our skid steer and dumped the sediment into the garden area. We thought it would be nutrient-rich topsoil that had run off and collected in the pond. While some of it might have been, the results were disappointing—it wasn’t great soil.
We then hauled several pickup loads of aged manure from outside my dad’s corral and spread it over the area. Finally, we tilled everything again in multiple directions, doing our best to level and evenly distribute the soil.
On Soil and Tilling
Let me pause here to say there are many schools of thought on soil preparation and tilling. Some gardeners advocate for no-till methods, where you layer soil, mulch, and manure without disrupting the ground. Others use tilling to incorporate organic matter into the soil. Both methods can achieve healthy soil, but they require time, energy, and resources. We chose to use the resources we had available and the methods that were the most cost-effective for us.
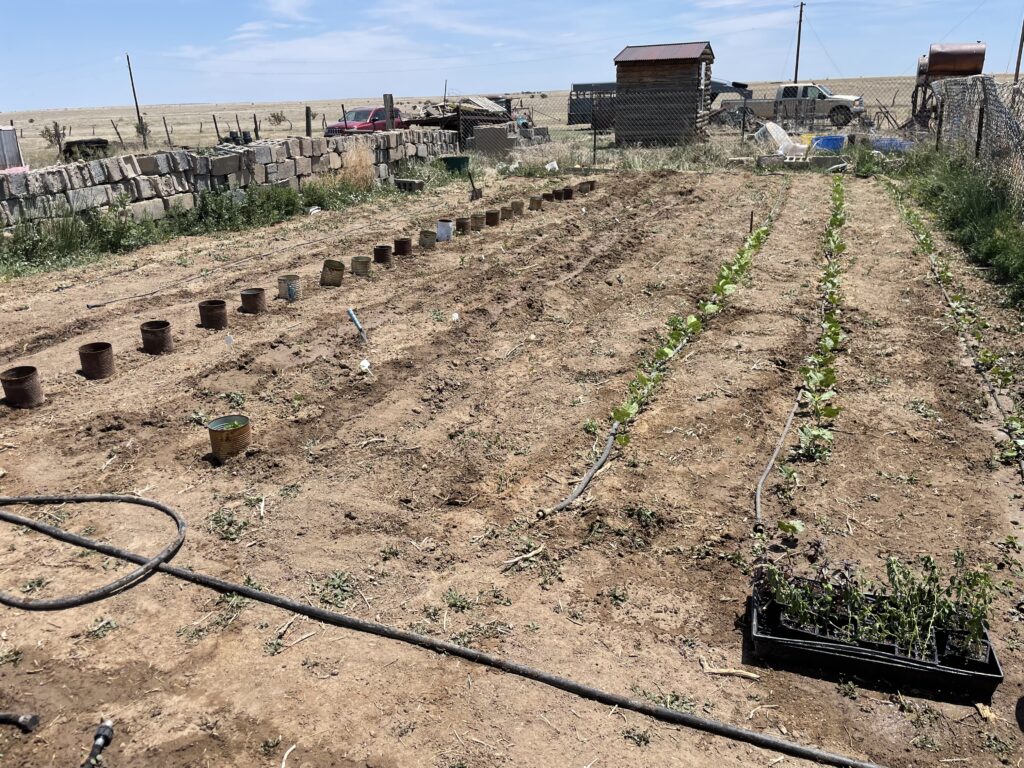
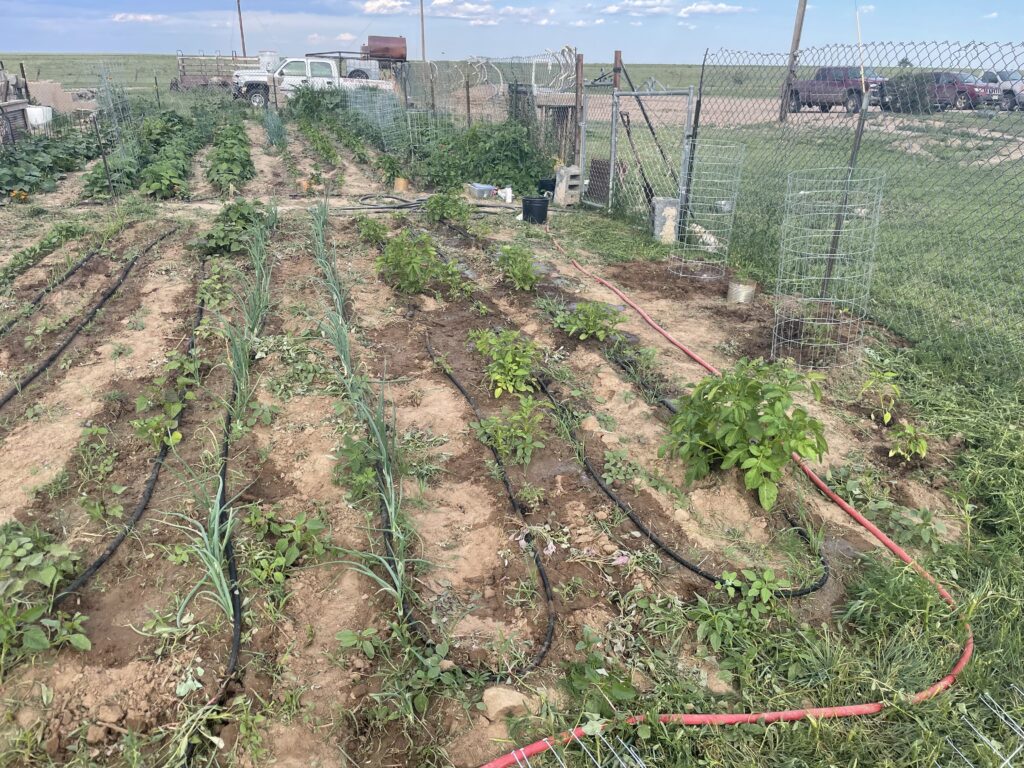
Planting and Watering
For our first few years in this new location, we kept things simple. We decided what to plant and used flood irrigation by running water down the rows (the photo below is the most recent where we used soaker hoses for watering).
Reflecting on the Journey
The truth is, gardening is always a learning process. Each year brings new challenges, lessons, and opportunities to improve. As you dream about and plan your own garden, remember that it might feel like spring is still months away, but in reality, it’s just around the corner. Now is the perfect time to start planning your garden and preparing for the rewarding season ahead!
Now It’s Your Turn: Where Do YOU Start?
Starting a garden can be an incredibly rewarding journey, but figuring out where to start might feel overwhelming. Don’t worry—you’re not alone! Let’s break it down into the major factors you need to consider:
- Soil
- Water
- Sunlight
- Planting Zone
Step 1: Assess Your Soil
Your soil is the foundation of your garden, so understanding its quality is essential.
- Size of the Area: Determine how much space you have to work with. Are you planning a small raised bed or a large in-ground garden?
- Type of Soil: Is it sandy, clay-heavy, rich in organic material, or dry and compact? Soil quality will directly impact your plants’ growth.
- Once you know what type of soil you are dealing with and what it lacks you can then amend accordingly.
- There are many thoughts on soil and tilling. There are people who only put layers of soil, mulch, and manure down and then plant in the layers. Others like us spread the manure, sand and mulch then rototill to mix it throughout. There are so many ways to accomplish healthy soil but it all takes time, energy and resources. We chose to use the resources we had at our disposal and those that were the least expensive.
💡 Tip: If you’re unsure about your soil type, take a sample to your local CSU Extension Office for analysis or purchase a soil test kit, like the one from Redmond Agriculture. These tests will tell you exactly what your soil needs to thrive.
Step 2: Plan Your Watering System
How you water your garden can make or break its success. Consider these options:
- Flood Irrigation: This is a budget-friendly method where you simply run water down your garden rows. It’s straightforward but less efficient.
- Soaker Hoses: These allow water to seep into the soil gradually and are more efficient than flooding.
- Drip System: The most effective option for water conservation, as it delivers water directly to the plant roots. However, it’s also the most expensive to set up.
💡 Pro Tip: Start with what fits your budget. As you grow your garden over time, you can upgrade your system to something more efficient.
Step 3: Map the Sunlight in Your Garden
Sunlight is critical for plant growth, but not all garden spaces receive the same amount or intensity of light throughout the day.
- Track Sunlight Hours: Observe your garden and note how many hours of morning and afternoon sunlight it gets. Keep in mind that morning light is less intense, while afternoon light can be harsher.
- Avoid Shade: Trees, fences, or nearby structures might block sunlight. If you have full sunlight all day like I do, focus on sun-loving plants. However, if your garden is shaded for part of the day, consider plants that thrive in partial shade.
💡 Tip: To map sunlight accurately, you can use tools like sunlight calculators or simply take notes at different times of day.
Step 4: Identify Your Planting Zone
Understanding your planting zone is essential for choosing plants that will thrive in your climate. Each region has a designated planting zone that determines the average lowest and highest temperatures, as well as the typical first and last frost dates.
To find your zone, use an online planting zone map, such as the USDA Plant Hardiness Zone Map. For example, we live in Zone 6a, which provides information about the average temperatures in our area. Based on this zone, I can estimate my growing season and frost dates.
However, these dates are just a baseline. Local weather patterns can vary greatly, so it’s always a good idea to consult with neighbors or experienced gardeners in your area. For instance, while the listed last frost date for Zone 6a suggests planting in early May, no one in our area sets plants out until after Mother’s Day unless they plan to cover them at night. It’s common for us to have a freeze—or even snow—well into May.
Remember, gardening is a learning process and often feels like a science experiment. Each year brings new lessons, and even when things don’t go as planned, you’ll gain valuable knowledge and a sense of pride with every garden you grow.
Getting Started
Gardening is a learning process, and it’s okay to start small and grow over time. Begin by focusing on these four elements, and you’ll set a strong foundation for your garden. Don’t forget to enjoy the journey—there’s nothing quite like the satisfaction of nurturing plants and watching them flourish!
Happy gardening!